How to Read a Property Before You Hang Your First Stand
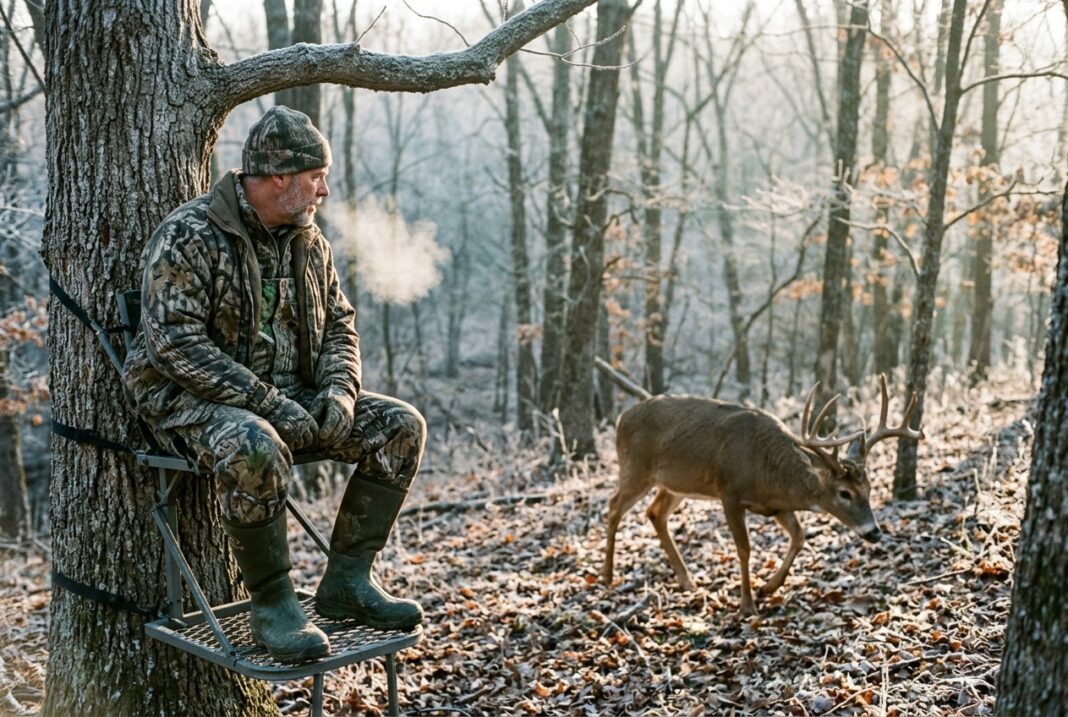
Every season starts the same way for too many hunters: they walk a new property, find a tree that “feels right,” and start screwing in steps before they’ve asked a single real question about the land underneath them. That’s backwards. The property tells you where the deer live, where they feed, and where they travel long before you ever climb a tree — but only if you slow down enough to listen to it.
Reading a property before you ever hang a stand isn’t some mystical skill reserved for biologists and outfitters. It’s a discipline. It’s map work, boot work, and patience, applied in that order. Skip a step and you’ll spend the season hunting a spot that looks good instead of one that actually produces.
I’ve made that mistake more than once, and I’ll tell you about the worst of it later. First, let’s talk about how to actually do this right.
Start With a Map, Not Your Boots
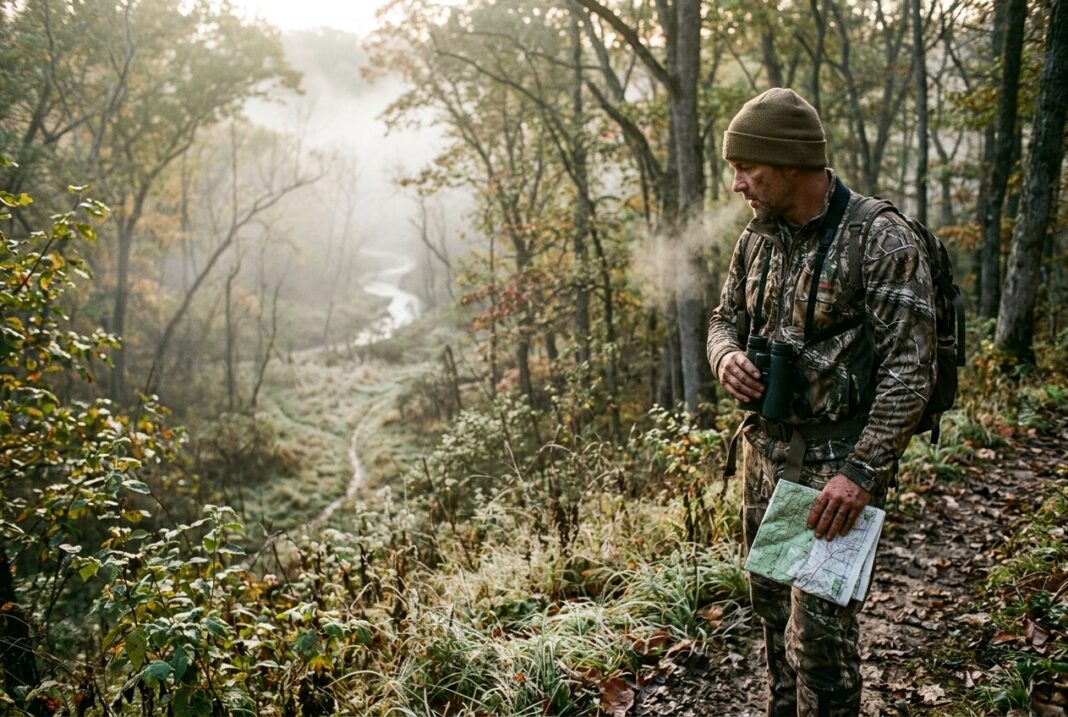
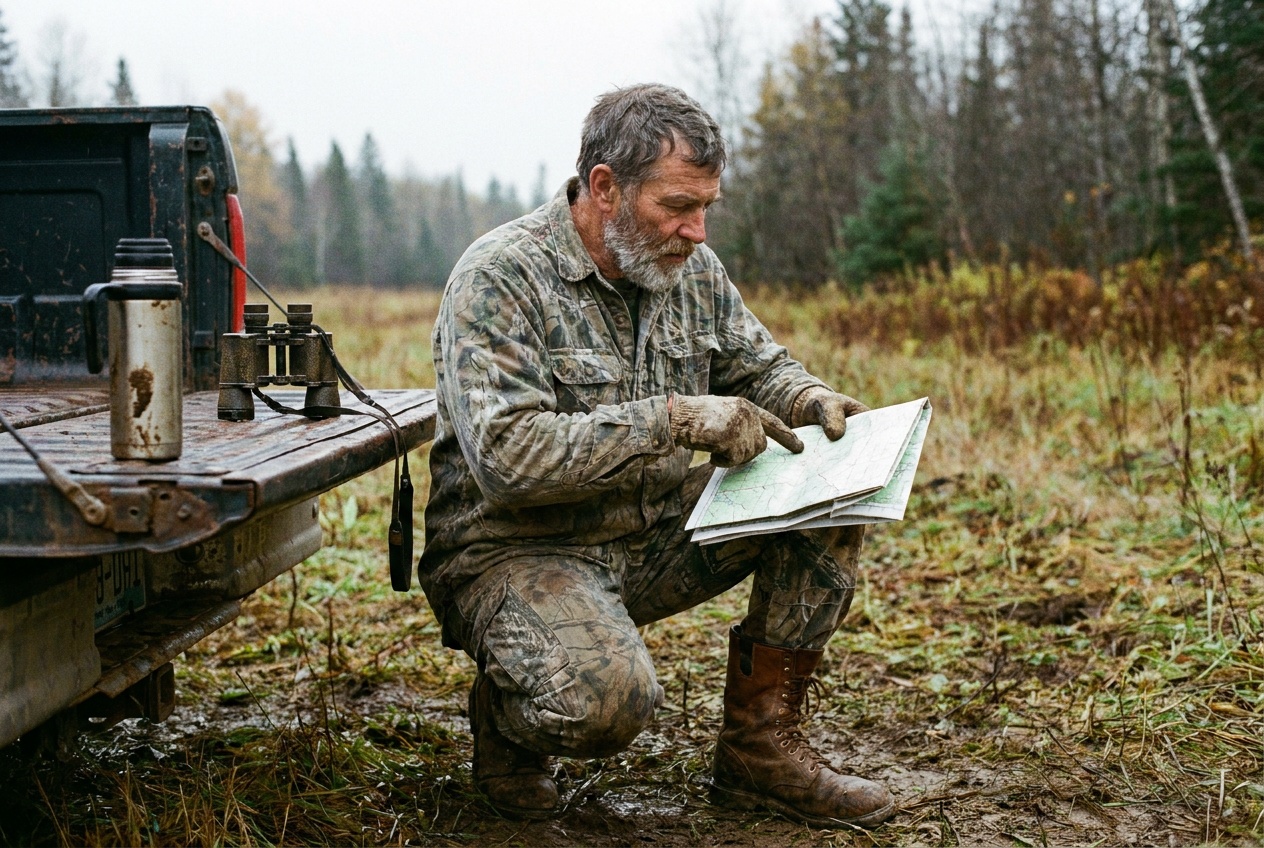
The single biggest edge you have over the hunter who bought the same lease you did is time spent studying aerial imagery before you ever set foot on the property. Onx, HuntStand, Google Earth — pick your poison, but use one. You’re looking for the bones of the land: ridgelines, creek drainages, funnels between fields, thick cover bordering open ground.
Topographic overlays matter more than most guys give them credit for. A contour map will show you saddles and benches that satellite imagery alone hides under a canopy of green. The U.S. Forest Service’s GIS resources are a genuinely useful free tool if part of your property borders public timber, and they’ll often reveal old logging roads and drainage patterns that don’t show up on a standard hunting app.
Mark everything that looks promising. Don’t commit to anything yet. The map gives you a hypothesis. The ground truth comes next.
Reading Topography: Ridges, Saddles, and Benches
Deer are lazy, in the best possible sense of the word. They don’t want to burn calories climbing a hill any more than you do. That’s why saddles — the low points between two high spots on a ridge — concentrate travel so predictably. Same with benches, those flat shelves partway down a slope that let deer move along a hillside without gaining or losing much elevation.
Walk the ridge before you ever hunt it. Look for trails that cut through saddles at an angle rather than straight up and over. Look for benches with a slight downwind lean where deer can bed and still smell what’s coming from below. These features hold up year after year because the terrain doesn’t change even when the food source does.
This is where a lot of hunters get impatient. They see one good trail and stop looking. Give the terrain a full walk-through, not just a glance. The best stand site is rarely the first trail you cross — it’s usually the pinch point where two or three of these features converge.
Water, Food, and the Edges Between Them
Water gets overlooked constantly, especially in regions where it seems abundant. But not all water is created equal. A small, isolated seep or pond tucked inside heavy cover will pull deer differently than a wide, open creek that runs the property line. Deer prioritize convenience and security together — they want water close to bedding, not water that requires crossing open ground.
Food is the more obvious variable, and most guys already know to check ag fields, oak flats, and browse lines. What they miss is the edge — the transition zone between two habitat types. A hardwood ridge dropping into a clear-cut, a pine stand bordering a soybean field, a fencerow splitting two crop types. Deer live on edges. They feel safer moving along a transition than crossing open, uniform terrain.
The National Deer Association has published extensively on how habitat diversity and edge density directly influence deer density and movement patterns, and it’s worth your time to read through their habitat management resources even if you’re not doing any active land management yourself. Understanding why deer favor these zones changes how you look at every property you walk.
Bedding Areas: The Sanctuary You Don’t Touch
Here’s where I’ll be blunt: if you’re walking through suspected bedding cover during your scouting trip, you’re doing it wrong. Mature deer, and does with fawns especially, will abandon a bedding area after enough human intrusion, and you may never know it happened. You’ll just wonder why the “perfect spot” went quiet by October.
Identify bedding from a distance. Use terrain, wind direction, and thermal cover — thick brush, conifer stands, high ground with good sightlines — to make an educated guess, then confirm it later with trail camera placement on the fringes, not the interior. Treat suspected bedding like a vault. You check the door occasionally. You don’t go rummaging through what’s inside.
This single principle separates hunters who kill mature bucks consistently from hunters who get lucky once. The whole game is access and egress that never tips off a bedded deer to your presence.
Wind and Thermals Before Trail Cameras
Trail cameras are a tool, not a strategy. Too many hunters hang a camera on the first likely trail and let the data dictate stand placement without ever considering whether that location is even huntable on a consistent wind. A great pinch point with no reliable entry route is worthless.
Study prevailing wind direction for your region before you commit to a tree. Most areas have a dominant pattern — check historical wind data through your National Weather Service regional office if you want real numbers instead of guessing. Then layer in thermal behavior: cold morning air sinks downhill, warm afternoon air rises. A stand that’s perfect on a morning sit can betray you completely in the evening if you haven’t accounted for thermals shifting your scent uphill.
This is the piece most self-taught hunters learn the hard way, myself included.
The Mistake That Taught Me to Slow Down
A few years back I found what I was certain was the best tree on a new lease — a massive white oak dropping acorns onto a well-used trail, forty yards off a thick creek bottom I assumed was bedding. I hung a stand within a week of walking the property for the first time. No trail cameras first. No wind study. Just excitement.
I hunted it six times that fall and saw exactly one deer, a yearling doe that busted me from sixty yards out before I even drew back. It wasn’t until the following spring, walking the property in the off-season with actual patience, that I realized the creek bottom wasn’t bedding at all — it was a travel corridor connecting two much larger bedding areas a quarter mile apart on opposite ridges. My “perfect” oak tree sat almost exactly between two thermal pulls, meaning my scent was getting pushed toward bedding cover on both sides depending on the time of day.
I’d found decent sign and built an entire season around it without doing the deeper work. It cost me a fall of hunting a dead zone when a stand two hundred yards east, at the actual pinch point between the two bedding areas, would have put me in position on nearly every sit. Lesson learned: good sign doesn’t mean good stand. You have to understand why the sign exists before you trust it.