Field Dressing a Whitetail Deer: A New Hunter’s Guide
Your first deer down is one thing. Getting that deer from the woods to your cooler without ruining the meat, contaminating the cavity, or spending an hour flailing around with a dull knife — that’s a different skill entirely. Field dressing a whitetail deer isn’t glamorous, and nobody puts it on a highlight reel, but it’s the single most important thing you’ll do between the shot and the tailgate.
A lot of new hunters treat this step like an afterthought, something to rush through so they can get back to camp and tell the story. That’s backwards. Sloppy field dressing is how good venison turns into something you’re apologizing for at the dinner table. Do it right, and you’ll protect the meat, keep the process sanitary, and build a skill you’ll use for the rest of your hunting life.
This guide walks you through it step by step, the way we’d walk a buddy through it standing over a deer in the timber — no fluff, no squeamishness, just what works.
Why Field Dressing Matters More Than You Think
Field dressing means removing the internal organs from the body cavity as soon as possible after the harvest. The reason isn’t tradition — it’s temperature. A deer’s core body heat, combined with bacteria in the digestive tract, starts breaking down meat quality within a couple of hours if the cavity stays closed. Get those organs out, and you open the carcass up to cool from the inside, which is exactly what you want in anything above freezing temperatures.
There’s also a disease-management angle that too many new hunters overlook. Depending on where you hunt, chronic wasting disease has become a real factor in how you handle a carcass, especially the brain, spinal column, and lymph nodes. The National Deer Association’s CWD resources are worth reading before your first season, not after you’ve already got a deer on the ground and questions you should have answered in September.
Gear You Need Before You Make the First Cut
You don’t need a wall of tools. You need a few good ones, and you need them within arm’s reach before that animal ever hits the dirt.
A sharp fixed-blade or quality folding knife is non-negotiable — dull blades cause more accidents and more torn meat than any other single mistake. Add a pair of nitrile or rubber gloves, a bone saw or heavy shears if you plan to split the pelvis, some paracord or rope for hanging or dragging, and a headlamp, because plenty of deer don’t fall until last light. Wet wipes and a couple of gallon bags round it out. Keep this kit in your pack every single hunt, not just the ones where you’re “feeling confident.”
Step-by-Step: Field Dressing a Whitetail Deer
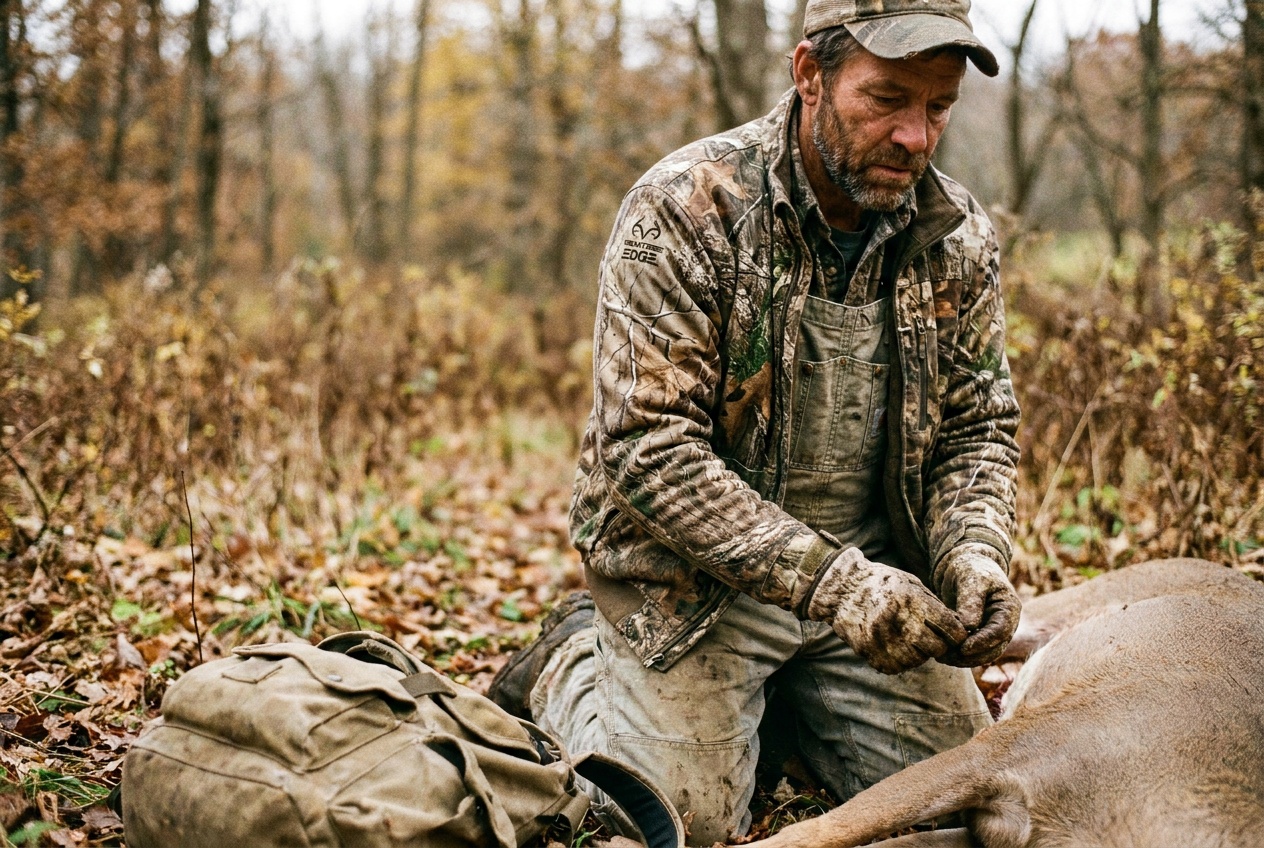
Once you’ve confirmed the deer is down and approached it safely — always tap the eye with your rod tip or bow to check for a reflex before you get close — it’s time to go to work.
1. Position the deer on its back. Find a slope if you can and let gravity help. Spread the back legs and, if you have a partner, have them hold one leg out of your way.
2. Make your entry cut. Starting just below the sternum, pinch the skin and make a small incision, then insert two fingers to guard the blade and run your knife up toward the pelvis, cutting through skin and thin muscle only. This is where a lot of new hunters puncture the stomach or intestines — go slow here. Blade in, fingers first, always.
3. Open the pelvis. Use your saw or shears to split the pelvic bone, which gives you room to remove the lower intestine and bladder cleanly.
4. Cut around the anus and reproductive organs, freeing them from the surrounding tissue so they’ll come out with the rest of the digestive tract instead of tearing.
5. Reach up into the chest cavity and cut the diaphragm — the thin muscular wall separating the chest from the abdomen. This is the step most new hunters underestimate; it takes more reach and more nerve than anything else in the process.
6. Sever the windpipe and esophagus as high up in the chest as you can reach, then pull everything down and out in one motion. Done correctly, the entire digestive and respiratory system comes out together in a single mass.
7. Roll the carcass to drain any pooled blood, and check the cavity for anything left behind — especially the bladder, which you do not want to nick this late in the process.
The Mistake Most New Hunters Make (And One I Made Myself)
Here’s the honest part. On my third deer ever, I got impatient during the diaphragm cut, tried to muscle through it with a knife angle that was too aggressive, and nicked the stomach. The smell hits you immediately, and so does the realization that you just made your afternoon a lot longer and messier. I spent the next twenty minutes rinsing cavity meat that should have taken five minutes to protect in the first place.
The lesson stuck: slow down at the diaphragm and the intestinal cuts. Speed matters for cooling the carcass, not for how fast you swing the knife. Rushing the delicate cuts is the single most common way new hunters turn a clean harvest into a salvage job. Take an extra sixty seconds there. It’s the cheapest insurance you’ll ever buy.
Handling the Cavity, Cooling, and Transport
Once the deer is dressed, prop the cavity open with a stick if you’re not moving it immediately, so air can circulate and start the cooling process.
Once the deer is dressed, prop the cavity open with a stick if you’re not moving it immediately, so air can circulate and start the cooling process.
If you have access to a game cart or a truck bed, get the deer off the ground and into moving air as soon as you can. Heat is the enemy here, not dirt or bugs — a deer that sits gutted but unventilated in warm weather will spoil far faster than one that’s dragged through some leaves. If it’s a warm-weather hunt and you’re more than an hour from a cooler or processor, consider quartering the deer in the field instead of hauling it whole. It’s more work up front, but it cools faster in pieces than as a single carcass.
Rinse the cavity out with clean water if you have it, but don’t feel like you need to scrub anything — you’re removing loose blood and debris, not sterilizing the animal. Pack the cavity with ice if you’ve got a cooler and a long drive ahead. A wet paper towel or two along the way doesn’t hurt either.
The whole point of everything above is simple: get the heat out, keep the meat clean, and don’t rush the parts that matter. The first deer you field dress will feel slow and a little clumsy, and that’s fine. By your third or fourth, it’s just something you do without thinking about it — same as loading a rifle or checking wind direction. Take your time, respect the animal, and you’ll end up with meat worth the effort you put into the hunt.
— Whitetail Fanatic