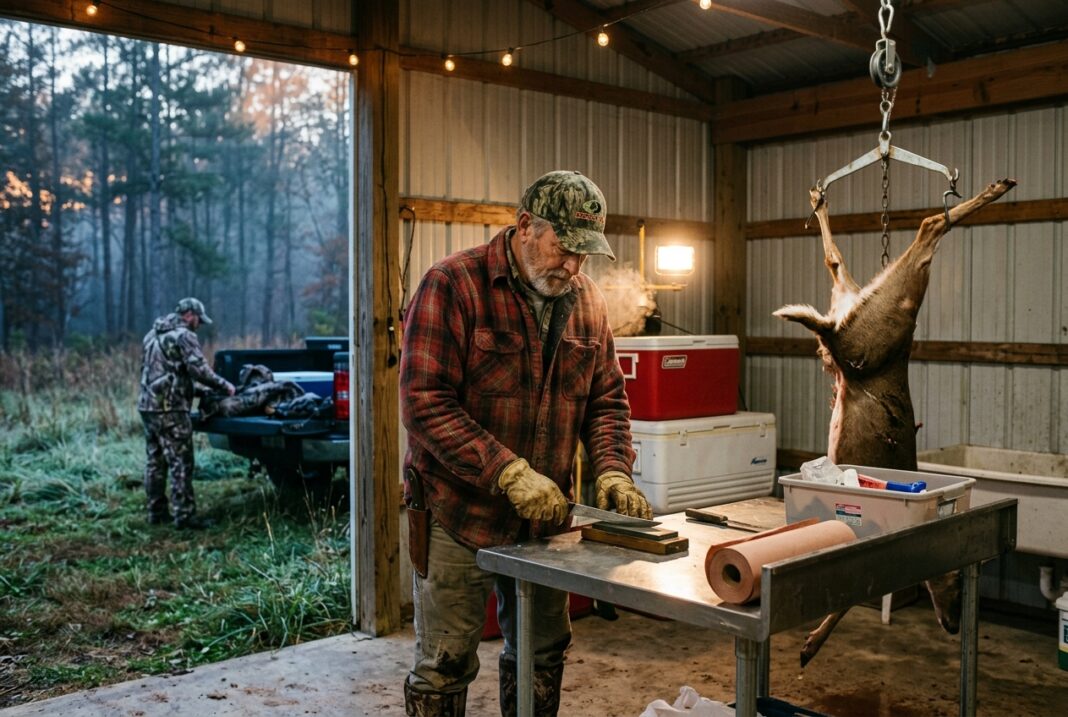
How to Age and Process Venison at Home: Field to Freezer
Every fall, hunters who put in the work to fill a tag manage to undo half their effort in the first 48 hours after the shot. They gut the deer right, they get it home, and then they rush the aging and butchering process because they’re tired, cold, or just excited to eat. I get it. But if you want venison that tastes like something worth bragging about instead of something you choke down out of obligation, the work between field and freezer matters as much as the shot itself.
This isn’t complicated science reserved for meat lockers and culinary schools. It’s a handful of decisions made correctly, in the right order, with a little patience. Age it wrong, and you’ll fight gaminess and toughness all winter. Age it right, and you’ll wonder why you ever paid a processor to do this for you.
Let’s walk through it the way I actually do it in my own garage, mistakes included.
Why Aging Matters More Than You Think
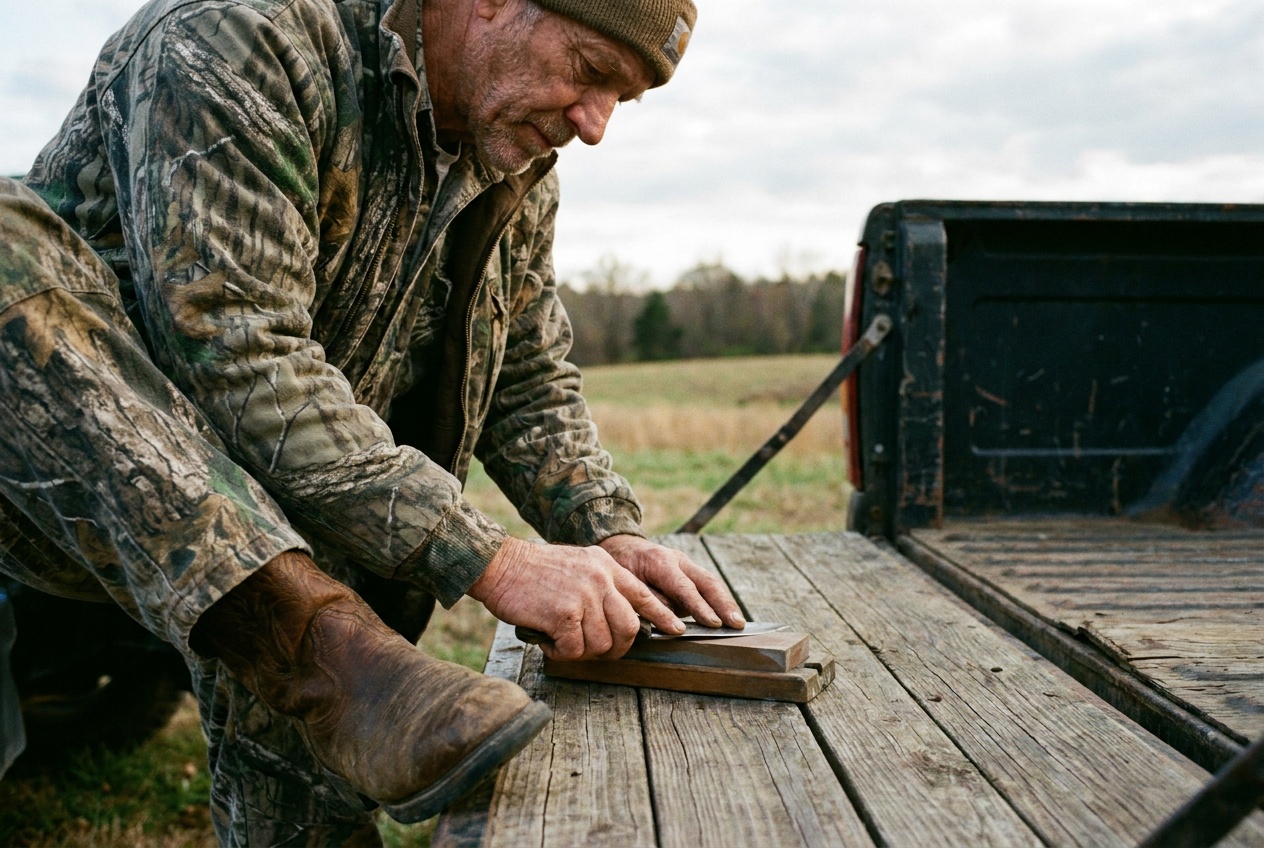
Aging isn’t about flavor development the way it is with beef, though there’s some of that too. It’s mostly about tenderness. Rigor mortis sets into muscle tissue within hours of death, and if you butcher a deer while it’s still in that state, you end up with meat that fights back against your teeth no matter how well you cooked it. Aging allows natural enzymes to break down connective tissue and relax the muscle fibers, which is the difference between a backstrap that melts and one that chews like a boot heel.
The National Deer Association has published solid research-backed guidance on this exact topic, and their consistent takeaway lines up with what most seasoned hunters already know from experience: a properly aged deer, held at the right temperature for several days to two weeks, produces measurably better eating quality than one processed same-day. There’s no shortcut here. You either give the meat time, or you accept tougher cuts.
Field Care Starts the Aging Clock
Aging doesn’t begin when you hang the deer in your garage. It begins the moment the animal is down. Get that body cavity opened and drained quickly, remove the entrails cleanly, and get airflow moving through the cavity as fast as conditions allow. Warm weather is not your friend here — anything above 40 degrees speeds bacterial growth faster than aging benefits can offset. If you’re hunting early season in 60-degree weather, skin the deer immediately and get it into a cooler with ice rather than trying to hang it whole overnight. I’ve seen hunters lose good meat to hide-on carcasses sweating in a barn because they wanted to “let it hang” out of habit rather than logic.
Many state wildlife agencies now require or strongly encourage specific field-dressing and transport practices tied to chronic wasting disease management, so it pays to check your state’s rules before you even head afield. The Wisconsin DNR’s CWD guidance is a good example of how carcass handling and disposal regulations can affect where and how you’re legally allowed to age and process a deer, especially if you’re hunting across county lines or in a CWD management zone.
Wet Aging vs. Dry Aging in a Home Setup
Most home hunters end up doing one of two things: hanging the whole or quartered carcass in a controlled cold space (dry aging), or breaking the deer down into primal cuts, vacuum-sealing them, and letting them age in a refrigerator (wet aging). Both work. Neither is objectively “better” — they just produce slightly different results.
Dry aging in a barn, garage, or dedicated meat cooler gives you that classic hunting-camp experience and can concentrate flavor a bit more, but it requires consistent temperature control and some surface trim loss from oxidation. Wet aging is more forgiving for hunters without a dedicated cold space — you can age quarters right in a spare refrigerator for 5 to 10 days with almost no waste, since the vacuum seal protects the surface. I lean wet-aging for anyone processing their own deer without a walk-in cooler, simply because temperature swings are the enemy of dry aging and most garages in October and November are anything but stable.
The Temperature Window You Can’t Ignore
Here’s where I’ll be blunt: temperature is the single most common failure point in home processing, and it’s not close. You want the carcass or cuts held between 34 and 40 degrees Fahrenheit for the entire aging period. Above that range, you’re inviting spoilage bacteria to the party. Below freezing, the aging process essentially stops, and you’re just storing meat, not improving it.
I made this mistake myself a few seasons back. I shot a doe on a warm late-October afternoon, hung her in the garage overnight, and woke up to a 52-degree reading on the thermometer I’d forgotten to check the night before. The hindquarters were fine. The backstraps, which had more surface exposure, had that faint sour smell that tells you enzymes aren’t the only thing that’s been working overnight. I trimmed hard and salvaged most of it, but it was a hard lesson in checking the thermometer before you trust your gut instinct about “it feels cold enough out here.”
A cheap wireless thermometer with a remote sensor solved that problem permanently. It’s a $20 fix for a mistake that can cost you fifty pounds of meat.
Breaking Down the Carcass: Tools and Setup
Once your aging window is up, typically 5 to 14 days depending on method and your own taste preference, it’s time to break the animal down. You don’t need a commercial setup, but a few tools make the job dramatically easier and safer:
A sharp, flexible boning knife is non-negotiable — dull knives cause more processing injuries than sharp ones because people force them. A sturdy table at a comfortable working height saves your back. A meat saw or reciprocating saw with a clean blade handles bone-in cuts like the neck or ribs if you want them. And a good stainless steel or plastic cutting surface that you can bleach afterward keeps things sanitary.
Work from the outside in: remove silverskin and exterior fat first, since venison fat carries most of the gamey flavor people complain about. Separate the primal muscle groups — backstraps, tenderloins, hindquarter muscles, shoulder meat — along their natural seams rather than hacking straight through with a saw. This isn’t just a purist’s preference; muscles separated along seams cook and slice more predictably, and you’ll waste less meat to gristle and connective tissue trimming later.
Grinding, Packaging, and Freezer Prep
Trim scraps, shoulder meat, and neck meat are your grind pile. I mix roughly 80/20 venison to pork fat or beef suet for burger, since pure venison burger cooks dry and crumbly without added fat. If you’re making sausage, this is also the point where you’d add your seasoning blends, though that’s a rabbit hole deep enough for its own article.
Packaging is where a lot of home-processed venison actually fails after all that careful aging work. Freezer burn doesn’t ruin meat safety-wise, but it wrecks texture and flavor, and it’s almost always caused by air exposure. Vacuum sealing is worth the investment if you’re serious about this — a mid-range vacuum sealer pays for itself within a season or two in meat quality alone. If you’re using freezer paper instead, wrap tight, double-wrap, and press out every pocket of air you can before taping it shut.
Label everything with the cut and the date. I know every hunter says they’ll remember what’s in the freezer bag. Nobody does, and mystery venison from two seasons ago is a real and common object in most hunting households.
For food safety fundamentals that apply specifically to wild game — safe holding temperatures, freezer storage life, and handling practices — the USDA Food Safety and Inspection Service publishes guidance that’s worth a read even for experienced processors, if only as a refresher on how long different cuts hold quality in a standard chest freezer versus a deep freeze.
Mistakes I’ve Made (and What They Cost Me)
Beyond the temperature blunder I already admitted to, my other big lesson came from rushing the grind. Early on, I ground meat straight off the bone without trimming enough silverskin and connective tissue, figuring the grinder would just chew through it. It doesn’t. That gristle wraps around the grinder plate, chokes the machine, and ends up as unpleasant stringy bits in your finished burger. Now I over-trim rather than under-trim, even though it means a little more waste. Clean meat in means clean meat out — there’s no grinder setting that fixes lazy trimming.
Bringing It All Together
Aging and processing venison at home isn’t about owning expensive equipment or having a culinary degree. It’s about respecting the timeline: quick, clean field care, a controlled cold aging period of a week or more, careful seam-based butchering, and airtight freezer packaging. Skip a step or rush the temperature control, and you’ll taste the shortcut in every meal that comes out of that freezer for the next twelve months.
Do it right, and you’ll have a freezer full of meat that tastes like the season you earned — tender, clean, and worth every cold morning it took to get there.
—