Summer Trail Camera Strategy for Mature Velvet Bucks
I pulled a card off a camera hanging over a mineral lick three days ago and sat in the truck with the tailgate down, scrolling through four hundred photos in the shade. Most were does and yearlings, the same raccoon at two in the morning, and then there he was — a heavy-bodied ten point still in velvet, feeding at last light like he owned the place. That’s what summer trail camera strategy is really about this time of year: patience with a purpose, learning a buck’s world before you ever plan to hunt him.
When should I start running trail cameras for velvet bucks?
Mid-July is close to ideal in most of the Midwest, because velvet growth is far enough along that you can tell individual bucks apart, and bucks are still holding to predictable summer bachelor groups. Give it another two to three weeks and antlers will be near full size, but the deer haven’t started shifting toward early fall ranges yet.
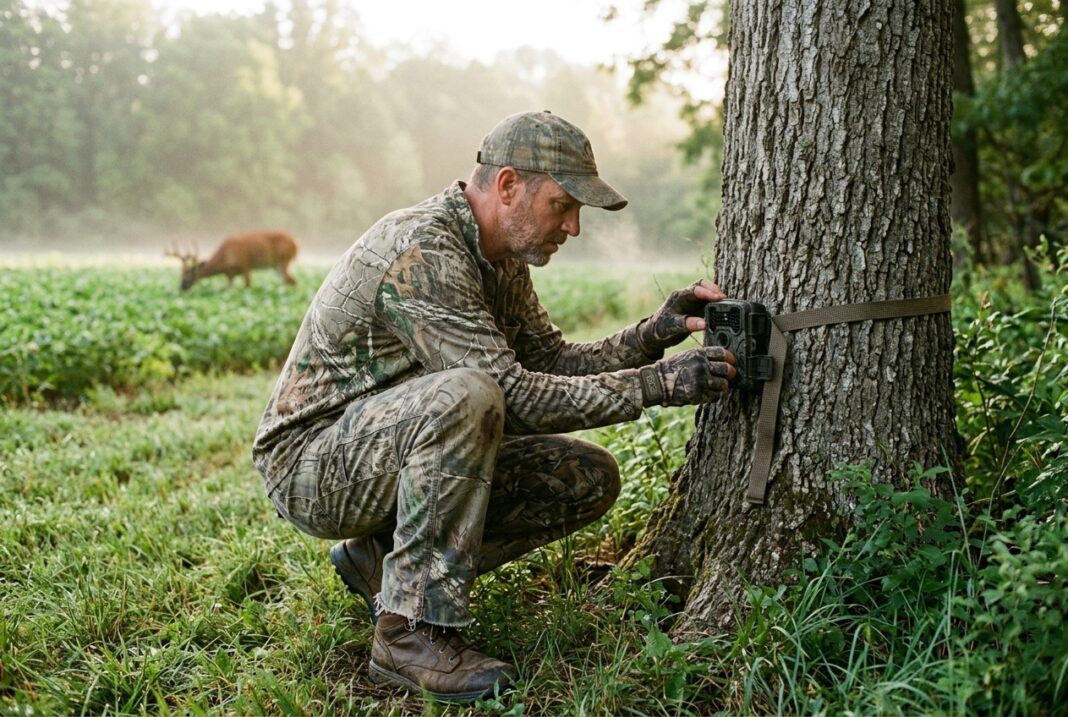
I run cameras over food sources rather than trails this time of year — soybean fields, clover plots, and alfalfa cuttings pull bucks out into the open in daylight far more reliably than a random travel corridor does in summer. A buck’s summer pattern is almost entirely stomach-driven. Find the best groceries on the property and you’ve found the deer.
How often should I check cameras without spooking bucks?
Once every seven to ten days is about right for summer cameras on food plots and field edges. Any more than that and you’re leaving human scent on the property more than you need to, which matters less in July than in October but still isn’t free.
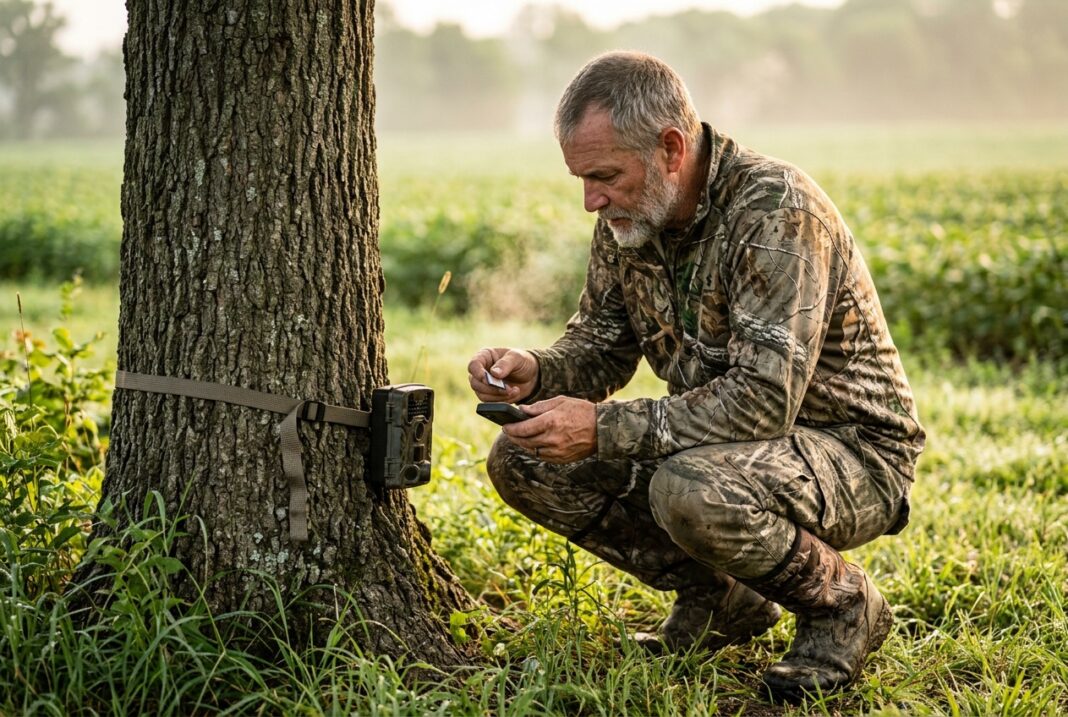
I use cellular cameras on my most sensitive setups so I can watch a buck develop all summer without a single boot print near him until I’m ready. The technology has gotten reliable enough that a lot of serious hunters have shifted their whole summer approach around it — the National Deer Association has written some solid material on how minimizing summer intrusion protects a buck’s comfort level heading into hunting season.
What’s the best camera placement for identifying individual bucks?
The best placement gives you a clean broadside or slightly quartering angle at a distance where the whole rack shows in frame, not just a partial glimpse of tines.
- Set cameras at field edges where deer step out consistently rather than deep in timber where angles are cluttered
- Angle the camera north or south to cut down on sun glare and false triggers from moving foliage
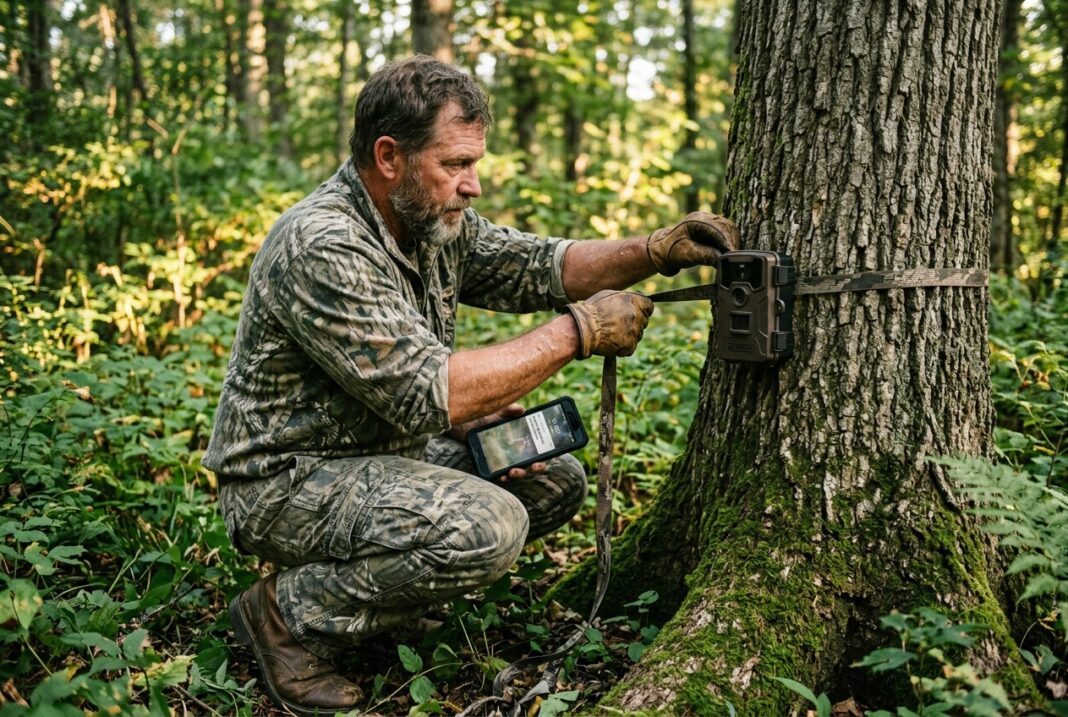
- Mount at chest height on the deer, roughly thirty inches, angled slightly downward for a full body and rack view
- Place a second camera forty to fifty yards down the same field edge to catch deer that hang up out of range of the first
How do I use summer camera data to plan an early season hunt?
Summer data tells you which food sources hold mature bucks and roughly what time they’re using them, but it will not tell you where that buck beds or how he travels once pressure and acorns change the equation in September.
What I do is build a rough inventory — which bucks are using which fields, what time they show, and how consistent that pattern holds across a month of card pulls. That inventory becomes the starting point for scouting bedding and access routes later in August, not the finished plan itself. The Minnesota DNR publishes good general research on summer whitetail range and food source dependency if you want to understand why this pattern holds so consistently across the region.
Final Word
- Run cameras over food, not trails, through July and early August
- Check cards no more than once every seven to ten days on sensitive spots
- Use cellular units on your best properties to cut down on human intrusion
- Treat summer footage as an inventory tool, not a hunting plan — bedding comes later
A summer photo of a good buck is an invitation to keep learning, not a reason to start planning a sit. Go pull a card this week, note which fields the mature deer are favoring, and leave the rest of the property alone until you’ve got a real reason to walk it.